# How to Deploy SvelteKit on Netlify (2026) - Complete Guide
> Learn how to deploy SvelteKit on Netlify in 2026 step by step. Set up the adapter, configure your build, and see why Kuberns is a faster, zero-config alternative.
- **Author**: priya-nambiar
- **Published**: 2026-06-09
- **Modified**: 2026-06-09
- **Category**: Deployment Guides
- **URL**: https://kuberns.com/blogs/deploy-sveltekit-on-netlify/
---
Your SvelteKit app works locally. You want it live on Netlify. But before you push and hope for the best, there are a few things to set up correctly or your SSR routes will fail, your API endpoints won't respond, and your build will stall.
This guide walks through the exact steps to deploy SvelteKit on Netlify in 2026, what you need to configure, where things break, and why many developers are switching to [Kuberns](https://kuberns.com) for a zero-config alternative that does not require an adapter or a `netlify.toml` file.
## Prerequisites: Prepare Your SvelteKit Project
Get these three things in order before you touch the Netlify dashboard. They prevent the most common deployment failures.
### 1. Install the Netlify Adapter
Netlify cannot run a SvelteKit app without its dedicated adapter. Unlike Kuberns, which auto-detects your framework and configures everything, Netlify requires you to install `@sveltejs/adapter-netlify` and update your config manually.
```bash
npm install -D @sveltejs/adapter-netlify
```
Then update `svelte.config.js`:
```js
import adapter from '@sveltejs/adapter-netlify';
/** @type {import('@sveltejs/kit').Config} */
const config = {
kit: {
adapter: adapter()
}
};
export default config;
```
If you currently have `adapter-auto` in your config, replace it with the Netlify adapter. `adapter-auto` does work with Netlify, but for production deployments, the explicit adapter gives you more control.
### 2. Add a netlify.toml File
Netlify uses a `netlify.toml` file at your project root to determine the build command and publish directory. Create this file if it does not already exist:
```toml
[build]
command = "npm run build"
publish = "build"
```
Without this file, Netlify falls back to defaults that may not match your SvelteKit output directory. The mismatch causes deploys that succeed in CI but serve a broken site.
### 3. Confirm Your package.json Scripts
Your `package.json` should have these scripts in place:
```json
{
"scripts": {
"dev": "vite dev",
"build": "vite build",
"preview": "vite preview"
}
}
```
### 4. Push Your Code to GitHub
Netlify deploys from a connected Git repository. Push your latest changes including the adapter and `netlify.toml`:
```bash
git add .
git commit -m "Add Netlify adapter and config"
git push origin main
```
That covers the prerequisites. Now for the actual deployment steps.
 ## How to Deploy SvelteKit on Netlify (Step by Step)
### Step 1: Create a Netlify Account
Go to [netlify.com](https://netlify.com) and sign up. Logging in with your GitHub account makes the next step faster since Netlify will already have access to your repositories.
### Step 2: Import Your GitHub Repository
In the Netlify dashboard, click **Add New Site** and select **Import an Existing Project**. Choose GitHub as your provider and authorize Netlify to access your account. Select the repository that contains your SvelteKit project.
### Step 3: Confirm Build Settings
Netlify auto-detects SvelteKit and pre-fills the build settings. Verify that these values are correct before continuing:
| Setting | Expected Value |
|---|---|
| Build command | `npm run build` |
| Publish directory | `build` |
| Node version | Set via `NODE_VERSION=20` in environment variables |
If the publish directory shows `.svelte-kit` or anything other than `build`, correct it manually. The `@sveltejs/adapter-netlify` outputs to `build` by default.
### Step 4: Add Environment Variables
In **Site Configuration** then **Environment Variables**, add all the variables your SvelteKit app needs before the deploy runs.
SvelteKit separates environment variables by exposure level:
- Variables prefixed with `PUBLIC_` are browser-safe and accessible via `$env/static/public`
- All other variables are server-only and accessible via `$env/dynamic/private`
A typical SvelteKit app might need:
```
DATABASE_URL=postgresql://user:pass@host:5432/db
SESSION_SECRET=your_secret_here
PUBLIC_API_URL=https://api.yoursite.com
NODE_ENV=production
```
Variables added after a build do not take effect until you trigger a new deploy.
### Step 5: Deploy Your SvelteKit App
Click **Deploy Site**. Netlify runs `npm install`, then `npm run build`, and deploys the output. Your app gets a `netlify.app` subdomain within 2 to 4 minutes.
Every future push to your connected branch triggers an automatic redeploy.
## Where Netlify Falls Short for SvelteKit
Netlify works well for static SvelteKit pages and simple SSG routes. For anything more dynamic, the serverless model creates real limitations.
**SSR routes run as serverless functions with execution time limits.** SvelteKit server-side load functions and API endpoints run as Netlify Functions with a 10-second timeout on the free plan and 26 seconds on paid plans. If your server-side logic calls an external API, queries a database with a slow query, or does any processing that runs long, it fails with a 502 in production even though it works fine locally with no time limit.
**Cold starts slow down your first SSR request.** When a serverless function has not been invoked recently, the first request takes longer while the function initializes. This affects every SSR page on Netlify and is especially noticeable after periods of low traffic.
**WebSocket connections are not supported.** If your SvelteKit app uses real-time features such as live updates or notifications through WebSockets, Netlify cannot host them. Persistent connections require a server that stays alive, which the serverless model does not provide.
**Split functions add complexity.** If you enable the `split` option in the adapter to reduce bundle size, each route gets its own Netlify Function. Debugging becomes harder and function names for nested routes are not always predictable.
These are not edge cases. Cold starts and function timeouts affect everyday SSR usage. If your SvelteKit app does real server-side work, these limitations will show up.
## How to Deploy SvelteKit on Netlify (Step by Step)
### Step 1: Create a Netlify Account

Go to [netlify.com](https://netlify.com) and sign up. Logging in with your GitHub account makes the next step faster since Netlify will already have access to your repositories.
### Step 2: Import Your GitHub Repository

In the Netlify dashboard, click **Add New Site** and select **Import an Existing Project**. Choose GitHub as your provider and authorize Netlify to access your account. Select the repository that contains your SvelteKit project.
### Step 3: Confirm Build Settings
Netlify auto-detects SvelteKit and pre-fills the build settings. Verify that these values are correct before continuing:
| Setting | Expected Value |
|---|---|
| Build command | `npm run build` |
| Publish directory | `build` |
| Node version | Set via `NODE_VERSION=20` in environment variables |
If the publish directory shows `.svelte-kit` or anything other than `build`, correct it manually. The `@sveltejs/adapter-netlify` outputs to `build` by default.
### Step 4: Add Environment Variables
In **Site Configuration** then **Environment Variables**, add all the variables your SvelteKit app needs before the deploy runs.
SvelteKit separates environment variables by exposure level:
- Variables prefixed with `PUBLIC_` are browser-safe and accessible via `$env/static/public`
- All other variables are server-only and accessible via `$env/dynamic/private`
A typical SvelteKit app might need:
```
DATABASE_URL=postgresql://user:pass@host:5432/db
SESSION_SECRET=your_secret_here
PUBLIC_API_URL=https://api.yoursite.com
NODE_ENV=production
```
Variables added after a build do not take effect until you trigger a new deploy.
### Step 5: Deploy Your SvelteKit App
Click **Deploy Site**. Netlify runs `npm install`, then `npm run build`, and deploys the output. Your app gets a `netlify.app` subdomain within 2 to 4 minutes.
Every future push to your connected branch triggers an automatic redeploy.
## Where Netlify Falls Short for SvelteKit
Netlify works well for static SvelteKit pages and simple SSG routes. For anything more dynamic, the serverless model creates real limitations.
**SSR routes run as serverless functions with execution time limits.** SvelteKit server-side load functions and API endpoints run as Netlify Functions with a 10-second timeout on the free plan and 26 seconds on paid plans. If your server-side logic calls an external API, queries a database with a slow query, or does any processing that runs long, it fails with a 502 in production even though it works fine locally with no time limit.
**Cold starts slow down your first SSR request.** When a serverless function has not been invoked recently, the first request takes longer while the function initializes. This affects every SSR page on Netlify and is especially noticeable after periods of low traffic.
**WebSocket connections are not supported.** If your SvelteKit app uses real-time features such as live updates or notifications through WebSockets, Netlify cannot host them. Persistent connections require a server that stays alive, which the serverless model does not provide.
**Split functions add complexity.** If you enable the `split` option in the adapter to reduce bundle size, each route gets its own Netlify Function. Debugging becomes harder and function names for nested routes are not always predictable.
These are not edge cases. Cold starts and function timeouts affect everyday SSR usage. If your SvelteKit app does real server-side work, these limitations will show up.
 ## The Faster Way: Deploy SvelteKit on Kuberns Without an Adapter
If the adapter setup and `netlify.toml` configuration feel like friction for something that should be simple, that is because it is. [Kuberns](https://kuberns.com) is an Agentic AI cloud platform that deploys SvelteKit with no adapter, no config file, and no manual build settings.
Before going through Kuberns deployment steps, here is a quick contrast:
| What Netlify Requires | What Kuberns Does Instead |
|---|---|
| Install `@sveltejs/adapter-netlify` | No adapter needed |
| Add `netlify.toml` manually | No config file required |
| Set Node version in env vars | Detected from your `engines` field |
| SSR runs as serverless functions | Persistent Node.js server |
| 10s/26s function timeout | No timeout |
| Cold starts on SSR routes | No cold starts |
### Step 1: Sign Up on Kuberns
Go to [kuberns.com](https://kuberns.com) and click **Deploy with AI**. Sign up with Google or GitHub. New accounts get free credits with no credit card required.
### Step 2: Connect Your GitHub Repository

On the **Create Service** page, connect your GitHub account and select your SvelteKit repository and branch.
Kuberns AI scans your project and detects the framework, build command, start command, and Node version automatically from your `package.json`. There is no form to fill in and no config file to write.
### Step 3: Add Environment Variables

Add your environment variables in the Environment tab. Use the `PUBLIC_` prefix for browser-safe values and no prefix for server-only secrets, the same convention SvelteKit already uses. You can add them one by one or upload your `.env` file directly.
Kuberns encrypts every value and injects them securely at build time and runtime.
### Step 4: Click Deploy
Click **Deploy**. Kuberns Agentic AI takes over from here:
- Installs all packages from `package.json`
- Runs `npm run build` to compile your SvelteKit app
- Starts the app as a persistent Node.js server on AWS
- Issues an SSL certificate and assigns a live HTTPS URL
- Configures CI/CD so every future push to your branch triggers an automatic redeploy
### Step 5: Your SvelteKit App is Live
Your app is live in under 5 minutes. SSR, API routes, form actions, WebSockets, and server-side load functions all work as they do locally because Kuberns runs a real persistent server, not serverless functions.
Subsequent deploys on git push take around 60 to 90 seconds.
## Netlify vs Kuberns for SvelteKit: Direct Comparison
| Feature | Netlify | Kuberns |
|---|---|---|
| Adapter required | Yes, `@sveltejs/adapter-netlify` | No |
| Config file required | Yes, `netlify.toml` | No |
| Runtime model | Serverless functions | Persistent Node.js server |
| SSR support | Yes, via serverless | Yes, native |
| Function timeout | 10s free / 26s paid | No timeout |
| Cold starts | Yes | No |
| WebSocket support | No | Yes |
| CI/CD on git push | Yes | Yes |
| Free tier | Yes | Yes, with free credits |
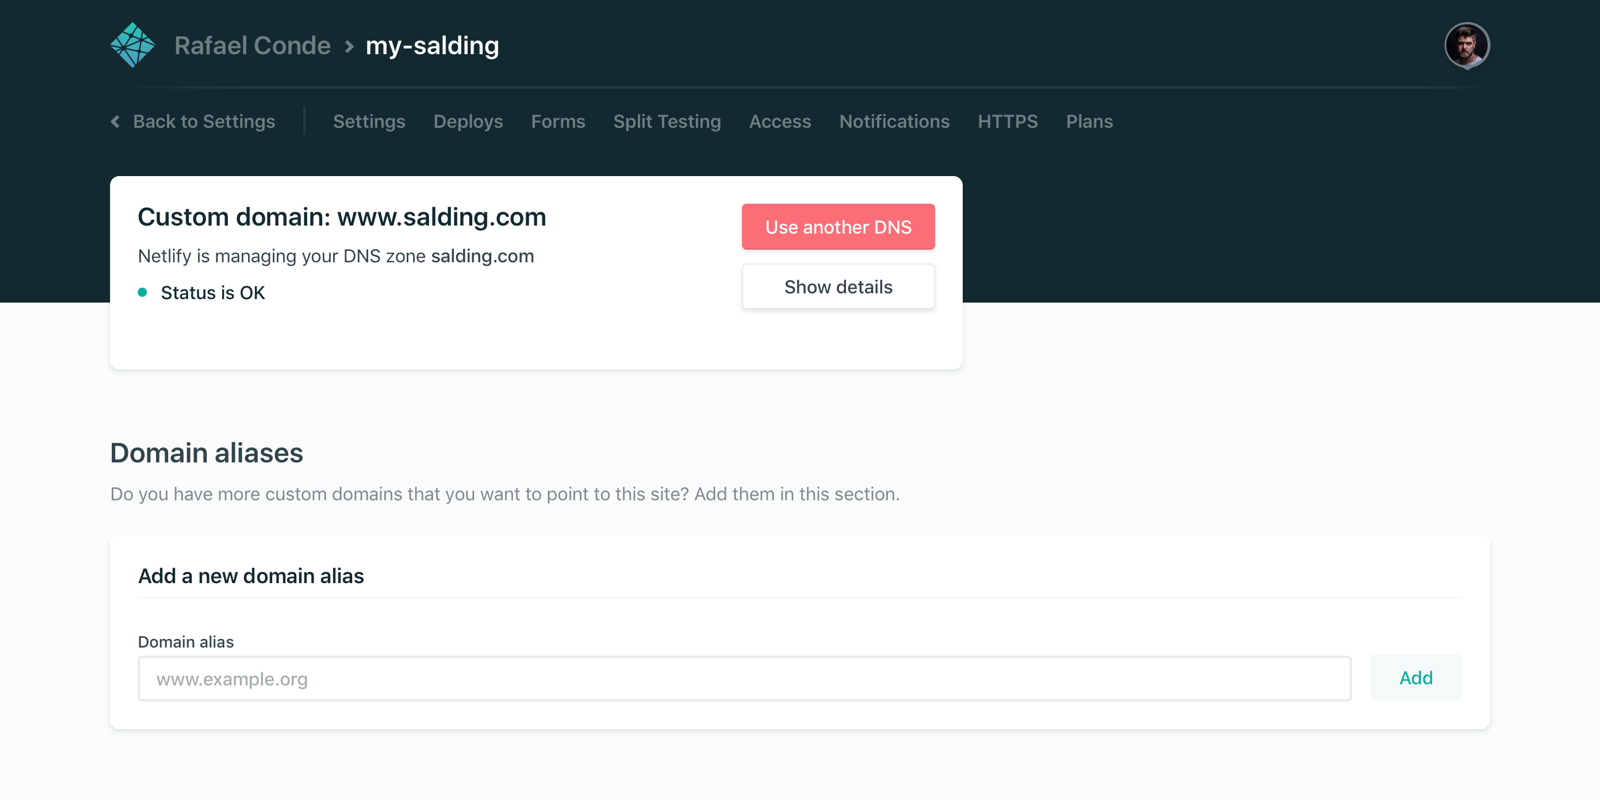
| Custom domains | Yes | Yes |
| Auto-scaling | Yes | Yes, AI-driven |
| Starting price | $19/month per member | $7/month |
For a static SvelteKit marketing site or a blog with prerendered pages, Netlify is a reasonable choice. For any SvelteKit app with SSR, server-side load functions, API routes, or real-time features, the persistent server model on Kuberns removes the limitations that show up in production.
For more context on how these platforms compare across the full deployment landscape, check out the guide on [best Netlify alternatives in 2026](https://kuberns.com/blogs/best-netlify-alternatives/) and the overview of [how to deploy a SvelteKit app](https://kuberns.com/blogs/how-to-deploy-sveltekit-app/) for the complete picture.
## The Faster Way: Deploy SvelteKit on Kuberns Without an Adapter
If the adapter setup and `netlify.toml` configuration feel like friction for something that should be simple, that is because it is. [Kuberns](https://kuberns.com) is an Agentic AI cloud platform that deploys SvelteKit with no adapter, no config file, and no manual build settings.
Before going through Kuberns deployment steps, here is a quick contrast:
| What Netlify Requires | What Kuberns Does Instead |
|---|---|
| Install `@sveltejs/adapter-netlify` | No adapter needed |
| Add `netlify.toml` manually | No config file required |
| Set Node version in env vars | Detected from your `engines` field |
| SSR runs as serverless functions | Persistent Node.js server |
| 10s/26s function timeout | No timeout |
| Cold starts on SSR routes | No cold starts |
### Step 1: Sign Up on Kuberns

Go to [kuberns.com](https://kuberns.com) and click **Deploy with AI**. Sign up with Google or GitHub. New accounts get free credits with no credit card required.
### Step 2: Connect Your GitHub Repository

On the **Create Service** page, connect your GitHub account and select your SvelteKit repository and branch.
Kuberns AI scans your project and detects the framework, build command, start command, and Node version automatically from your `package.json`. There is no form to fill in and no config file to write.
### Step 3: Add Environment Variables

Add your environment variables in the Environment tab. Use the `PUBLIC_` prefix for browser-safe values and no prefix for server-only secrets, the same convention SvelteKit already uses. You can add them one by one or upload your `.env` file directly.
Kuberns encrypts every value and injects them securely at build time and runtime.
### Step 4: Click Deploy

Click **Deploy**. Kuberns Agentic AI takes over from here:
- Installs all packages from `package.json`
- Runs `npm run build` to compile your SvelteKit app
- Starts the app as a persistent Node.js server on AWS
- Issues an SSL certificate and assigns a live HTTPS URL
- Configures CI/CD so every future push to your branch triggers an automatic redeploy
### Step 5: Your SvelteKit App is Live

Your app is live in under 5 minutes. SSR, API routes, form actions, WebSockets, and server-side load functions all work as they do locally because Kuberns runs a real persistent server, not serverless functions.
Subsequent deploys on git push take around 60 to 90 seconds.
## Netlify vs Kuberns for SvelteKit: Direct Comparison
| Feature | Netlify | Kuberns |
|---|---|---|
| Adapter required | Yes, `@sveltejs/adapter-netlify` | No |
| Config file required | Yes, `netlify.toml` | No |
| Runtime model | Serverless functions | Persistent Node.js server |
| SSR support | Yes, via serverless | Yes, native |
| Function timeout | 10s free / 26s paid | No timeout |
| Cold starts | Yes | No |
| WebSocket support | No | Yes |
| CI/CD on git push | Yes | Yes |
| Free tier | Yes | Yes, with free credits |
| Custom domains | Yes | Yes |
| Auto-scaling | Yes | Yes, AI-driven |
| Starting price | $19/month per member | $7/month |
For a static SvelteKit marketing site or a blog with prerendered pages, Netlify is a reasonable choice. For any SvelteKit app with SSR, server-side load functions, API routes, or real-time features, the persistent server model on Kuberns removes the limitations that show up in production.
For more context on how these platforms compare across the full deployment landscape, check out the guide on [best Netlify alternatives in 2026](https://kuberns.com/blogs/best-netlify-alternatives/) and the overview of [how to deploy a SvelteKit app](https://kuberns.com/blogs/how-to-deploy-sveltekit-app/) for the complete picture.
 ## Conclusion
Deploying SvelteKit on Netlify works, but it comes with real trade-offs you will notice in production: a mandatory adapter, a `netlify.toml` config file, cold starts on SSR routes, and a function timeout that kicks in at 10 seconds on the free plan. For a prerendered static site, those trade-offs are manageable. For a SvelteKit app doing real server-side work, they become bottlenecks.
If you want a deployment experience that matches how fast SvelteKit lets you build, [Kuberns](https://kuberns.com) removes all of it. No adapter. No config file. No timeout. Connect your repo, set your environment variables, and your SvelteKit app is live in under 5 minutes on a persistent server with auto-scaling, CI/CD, and free credits to start.
[Deploy your SvelteKit app on Kuberns for free](https://dashboard.kuberns.com/)
## Frequently Asked Questions
### Can I deploy SvelteKit on Netlify for free?
Yes. Netlify has a free tier that covers SvelteKit deployments. For apps that need persistent SSR without cold starts or function timeouts, [Kuberns](https://kuberns.com) is a better fit and also offers free credits to get started with no credit card required.
### Do I need a Netlify adapter to deploy SvelteKit?
Yes. Netlify requires the `@sveltejs/adapter-netlify` package installed in your project and configured in `svelte.config.js`. Without it, your SSR routes and server endpoints will not work. On Kuberns, no adapter is needed.
### Does SvelteKit SSR work on Netlify?
Yes, but SSR routes run as Netlify serverless functions with execution time limits of 10 seconds on the free plan and 26 seconds on paid plans. Long-running server-side operations will hit this ceiling. Kuberns runs SvelteKit as a persistent Node.js server with no function timeout.
### Why is my SvelteKit app slow on Netlify?
Cold starts are the most likely cause. When a serverless function handling your SSR route has not been invoked recently, the first request takes longer while the function initializes. This is built into Netlify's serverless execution model and cannot be disabled.
### What is the easiest way to deploy SvelteKit in 2026?
Kuberns is the easiest option. Connect your GitHub repo, add environment variables, and click Deploy. No adapter to install, no `netlify.toml` to write, and no function timeout to work around. The AI detects SvelteKit automatically and gets your app live in under 5 minutes.
### Does SvelteKit WebSocket support work on Netlify?
No. Netlify does not support persistent connections. WebSockets and real-time server-sent events in SvelteKit will not work on Netlify. If your app uses real-time features, you need a platform that runs a persistent server such as Kuberns.
### How do I set environment variables for SvelteKit on Netlify?
Go to **Site Configuration** then **Environment Variables** in the Netlify dashboard. Add `PUBLIC_` prefixed variables for browser-exposed values and unprefixed variables for server-only secrets. Variables set after a build do not take effect until you trigger a new deploy.
---
- [More Deployment Guides articles](https://kuberns.com/blogs/category/deployment-guides/1/)
- [All articles](https://kuberns.com/blogs/)
## Conclusion
Deploying SvelteKit on Netlify works, but it comes with real trade-offs you will notice in production: a mandatory adapter, a `netlify.toml` config file, cold starts on SSR routes, and a function timeout that kicks in at 10 seconds on the free plan. For a prerendered static site, those trade-offs are manageable. For a SvelteKit app doing real server-side work, they become bottlenecks.
If you want a deployment experience that matches how fast SvelteKit lets you build, [Kuberns](https://kuberns.com) removes all of it. No adapter. No config file. No timeout. Connect your repo, set your environment variables, and your SvelteKit app is live in under 5 minutes on a persistent server with auto-scaling, CI/CD, and free credits to start.
[Deploy your SvelteKit app on Kuberns for free](https://dashboard.kuberns.com/)
## Frequently Asked Questions
### Can I deploy SvelteKit on Netlify for free?
Yes. Netlify has a free tier that covers SvelteKit deployments. For apps that need persistent SSR without cold starts or function timeouts, [Kuberns](https://kuberns.com) is a better fit and also offers free credits to get started with no credit card required.
### Do I need a Netlify adapter to deploy SvelteKit?
Yes. Netlify requires the `@sveltejs/adapter-netlify` package installed in your project and configured in `svelte.config.js`. Without it, your SSR routes and server endpoints will not work. On Kuberns, no adapter is needed.
### Does SvelteKit SSR work on Netlify?
Yes, but SSR routes run as Netlify serverless functions with execution time limits of 10 seconds on the free plan and 26 seconds on paid plans. Long-running server-side operations will hit this ceiling. Kuberns runs SvelteKit as a persistent Node.js server with no function timeout.
### Why is my SvelteKit app slow on Netlify?
Cold starts are the most likely cause. When a serverless function handling your SSR route has not been invoked recently, the first request takes longer while the function initializes. This is built into Netlify's serverless execution model and cannot be disabled.
### What is the easiest way to deploy SvelteKit in 2026?
Kuberns is the easiest option. Connect your GitHub repo, add environment variables, and click Deploy. No adapter to install, no `netlify.toml` to write, and no function timeout to work around. The AI detects SvelteKit automatically and gets your app live in under 5 minutes.
### Does SvelteKit WebSocket support work on Netlify?
No. Netlify does not support persistent connections. WebSockets and real-time server-sent events in SvelteKit will not work on Netlify. If your app uses real-time features, you need a platform that runs a persistent server such as Kuberns.
### How do I set environment variables for SvelteKit on Netlify?
Go to **Site Configuration** then **Environment Variables** in the Netlify dashboard. Add `PUBLIC_` prefixed variables for browser-exposed values and unprefixed variables for server-only secrets. Variables set after a build do not take effect until you trigger a new deploy.
---
- [More Deployment Guides articles](https://kuberns.com/blogs/category/deployment-guides/1/)
- [All articles](https://kuberns.com/blogs/)