# Deploying Nginx on DigitalOcean? Here is the Complete Guide
> Install Nginx on DigitalOcean, set up reverse proxy and SSL, fix common errors, and see why developers skip this stack entirely with Kuberns AI deployment.
- **Author**: tom-weston
- **Published**: 2026-06-13
- **Modified**: 2026-06-13
- **Category**: Deployment Guides
- **URL**: https://kuberns.com/blogs/nginx-on-digitalocean/
---
Nginx on DigitalOcean works. You install it on a Droplet, configure it as a reverse proxy, add SSL through Certbot, and manage it yourself from that point forward. The full setup takes 30 to 45 minutes if nothing goes wrong. Most guides stop there. This one does not.
What those guides skip is everything that comes after: the Nginx config that silently serves nothing when one line is wrong, the Certbot certificates that expire quietly when auto-renewal fails, the PM2 process manager you need to keep your Node.js app alive, and the OS patches that are permanently your responsibility.
This guide covers the complete setup and the production realities behind it. It also covers [Kuberns](https://kuberns.com), an Agentic AI cloud platform that skips the Nginx stack entirely. If you want a live HTTPS URL in under 5 minutes without touching a server config, that is the path. Otherwise, here is exactly how to do it on DigitalOcean.
## You Should Know These Before You Deploy Nginx on DigitalOcean

Most Nginx tutorials give you the commands and leave you to figure out the rest. Before you commit to this stack, here is what actually matters in production.
### Nginx Config Errors Fail Silently
A misconfigured Nginx server block does not throw a loud error. It either serves nothing, returns a 502, or silently falls through to the wrong site. There is no on-screen warning when your proxy_pass points to the wrong port or your server_name does not match your domain. You have to know to run `nginx -t` and watch the error log manually.
This becomes a real problem when you are debugging a production outage at 2am and the server appears to be running but requests are not reaching your app.
> The silent config failure is one of the most common reasons deployments break in production. Read [why your app works locally but breaks after deploy](https://kuberns.com/blogs/why-your-app-works-locally-but-breaks-after-deploy/) to understand the full class of errors a manual Nginx setup introduces.
### SSL Certificates Expire Every 90 Days and Certbot Renewal Breaks
Let's Encrypt certificates are valid for 90 days. Certbot sets up a systemd timer or cron job to auto-renew them, and most of the time it works. But when it does not, there is no alert. Your certificate expires, your site goes HTTPS-broken, and users see a security warning.
Renewal fails when port 80 is blocked by UFW, when your Nginx config has a syntax error, or when DNS no longer resolves to your Droplet. None of these trigger a notification. You find out when someone tells you the site is broken.
### You Are Responsible for Every OS Patch and Security Update
A DigitalOcean Droplet is a Linux virtual machine you manage entirely. That means you own OS security updates, kernel patches, disk space, and firewall rules. DigitalOcean does not patch your server. If a CVE drops for the Ubuntu version your Droplet runs, you need to apply the fix. If your disk fills up, Nginx crashes and takes your app with it.
> Not sure what you are actually signing up for with a Droplet? Read [what DigitalOcean actually provides at the infrastructure level](https://kuberns.com/blogs/what-is-digitalocean/) before you commit to the manual stack.
### PM2 and Nginx Together Add Significant Setup Overhead
Nginx handles traffic routing. It does not manage your application process. For a Node.js app, that means you also need PM2 running as a daemon to keep the app alive. That is two separate tools to install, configure, and debug. If PM2 is not set up with `pm2 startup` and `pm2 save`, your app stops on every server reboot and does not come back on its own.
> Before you go any further, read [what you need to know before deploying Node.js on DigitalOcean](https://kuberns.com/blogs/deploy-nodejs-on-digitalocean/) for the full picture of the PM2 and Nginx dependency chain.
## How to Install Nginx on a DigitalOcean Droplet (Step by Step)

You need a Droplet running Ubuntu 22.04 LTS, a non-root user with sudo access, and a domain name with its A record pointing to your Droplet IP. Once those are in place, here is the complete setup.
### Step 1: Update Your System and Install Nginx
SSH into your Droplet as your sudo user and update the package index before installing anything:
```bash
sudo apt update
sudo apt install nginx -y
```
Nginx installs and starts automatically. Ubuntu registers it as a systemd service, so it will restart on reboot by default.
### Step 2: Configure UFW Firewall Rules
Nginx registers three profiles with UFW on installation: `Nginx HTTP` (port 80 only), `Nginx HTTPS` (port 443 only), and `Nginx Full` (both). Allow SSH and the full Nginx profile:
```bash
sudo ufw allow OpenSSH
sudo ufw allow 'Nginx Full'
sudo ufw enable
sudo ufw status
```
Use `Nginx HTTP` while setting up, then switch to `Nginx Full` once SSL is configured.
### Step 3: Verify Nginx Is Running
Check the service status:
```bash
systemctl status nginx
```
You should see `active (running)`. Confirm Nginx is responding on port 80:
```bash
curl -I http://localhost
```
A `200 OK` response with a `Server: nginx` header confirms it is live.
### Step 4: Set Up a Server Block for Your Domain
Create a new config file for your domain instead of editing the default:
```bash
sudo nano /etc/nginx/sites-available/yourdomain.com
```
Add a basic server block:
```nginx
server {
listen 80;
server_name yourdomain.com www.yourdomain.com;
root /var/www/yourdomain.com;
index index.html;
location / {
try_files $uri $uri/ =404;
}
}
```
For a Node.js or Python app, the `root` and `try_files` lines are replaced by a `proxy_pass` directive. That is covered in the reverse proxy section below.
### Step 5: Enable the Site and Reload Nginx
Create a symlink from `sites-available` to `sites-enabled`:
```bash
sudo ln -s /etc/nginx/sites-available/yourdomain.com /etc/nginx/sites-enabled/
```
Always test your config before reloading:
```bash
sudo nginx -t
```
If the output says `syntax is ok` and `test is successful`, reload:
```bash
sudo systemctl reload nginx
```
Never skip `nginx -t`. A config error on reload takes your entire server offline until you fix it.
### How to Configure Nginx as a Reverse Proxy on DigitalOcean
If you are running a Node.js, Python, or other backend app on your Droplet, Nginx acts as a reverse proxy. It receives traffic on port 80 and 443, then forwards it to your app process running on an internal port like 3000.
Replace the static file config in your server block with this proxy configuration:
```nginx
server {
listen 80;
server_name yourdomain.com www.yourdomain.com;
location / {
proxy_pass http://localhost:3000;
proxy_http_version 1.1;
proxy_set_header Upgrade $http_upgrade;
proxy_set_header Connection 'upgrade';
proxy_set_header Host $host;
proxy_cache_bypass $http_upgrade;
}
}
```
`proxy_pass` tells Nginx where your app is running. The `proxy_set_header` lines preserve the original request headers so your app receives the real client IP and connection details. The `Upgrade` and `Connection` headers are required for WebSocket support.
Change `localhost:3000` to match whatever port your app actually listens on. Test with `nginx -t` and reload.
> Need to set up the Node.js process that Nginx proxies to? The [complete Node.js app deployment guide](https://kuberns.com/blogs/deploy-nodejs-app/) covers every step from PM2 setup to going live.
### How to Add SSL to Nginx on DigitalOcean with Let's Encrypt
Nginx is running on HTTP. To add HTTPS, install Certbot and let it update your Nginx config automatically:
```bash
sudo apt install certbot python3-certbot-nginx -y
sudo certbot --nginx -d yourdomain.com -d www.yourdomain.com
```
Certbot validates your domain, installs the certificate, and rewrites your Nginx server block to handle HTTPS and redirect HTTP traffic. Your site is live on HTTPS once the command completes.
Certificates expire every 90 days. Certbot sets up a systemd timer to handle renewal automatically. Test it with:
```bash
sudo certbot renew --dry-run
```
If the dry run fails, check that port 80 is open in UFW and your DNS is still pointing to the Droplet.
> Setting up Nginx, PM2, and SSL from scratch on a Droplet takes 30 to 45 minutes on a clean server. For teams managing multiple apps or non-standard stacks, [the best deployment platforms for small dev teams](https://kuberns.com/blogs/best-deployment-platform-for-small-dev-teams/) handle this entire layer automatically.
## Common Errors You Find While Deploying Nginx on DigitalOcean

These three errors appear consistently across every Nginx on DigitalOcean setup. Each one points to a deeper reason why the manual stack adds ongoing maintenance overhead.
### 502 Bad Gateway
Nginx is running but your application is not. The upstream process, the Node.js, Python, or Go app that `proxy_pass` points to, has crashed or never started. Nginx cannot reach it and returns a 502.
The fix is to restart your app via PM2 or systemd and confirm it is listening on the correct port. But this is also the error that appears at 2am when PM2 was not configured with `pm2 startup` and a server reboot killed the process silently. On [Kuberns](https://kuberns.com), process management is handled by the platform. There is no PM2 to configure, no `pm2 save` step to forget, and no 502 from a crashed process that was never set to restart automatically.
### 504 Gateway Timeout
Your app is running but Nginx timed out waiting for a response. This happens when the app takes too long to process a request, when it is overloaded on a small Droplet, or when `proxy_pass` is pointed at the wrong port and Nginx is waiting for a connection that will never come.
The underlying issue is often resource constraints: a $6/mo Droplet running out of memory under traffic load. Scaling a Droplet vertically requires a manual resize and a reboot.
> Autoscaling on a Droplet does not exist natively. See the [best DigitalOcean alternatives](https://kuberns.com/blogs/best-digitalocean-alternatives/) for platforms that handle traffic spikes automatically without a reboot or manual intervention.
### SSL Certificate Expired
Certbot's auto-renewal timer failed and the certificate was not renewed before the 90-day expiry. Users now see a browser security warning. The site still loads but HTTPS is broken.
This happens when port 80 gets blocked by a UFW rule change, when the Nginx config breaks between renewals, or when the systemd timer was never enabled correctly. There is no alert when it happens. You find out when someone reports the broken padlock. With Kuberns, SSL is provisioned and renewed by the platform. There is no Certbot to manage, no timer to check, and no expired certificate to debug.
> The operational overhead adds up fast. See [why AI-managed PaaS beats IaaS for developer teams](https://kuberns.com/blogs/why-ai-managed-paas-beats-iaas/) for a direct comparison of what managed platforms handle vs what Droplets leave entirely to you.
## The Faster Way to Deploy Without Touching Nginx
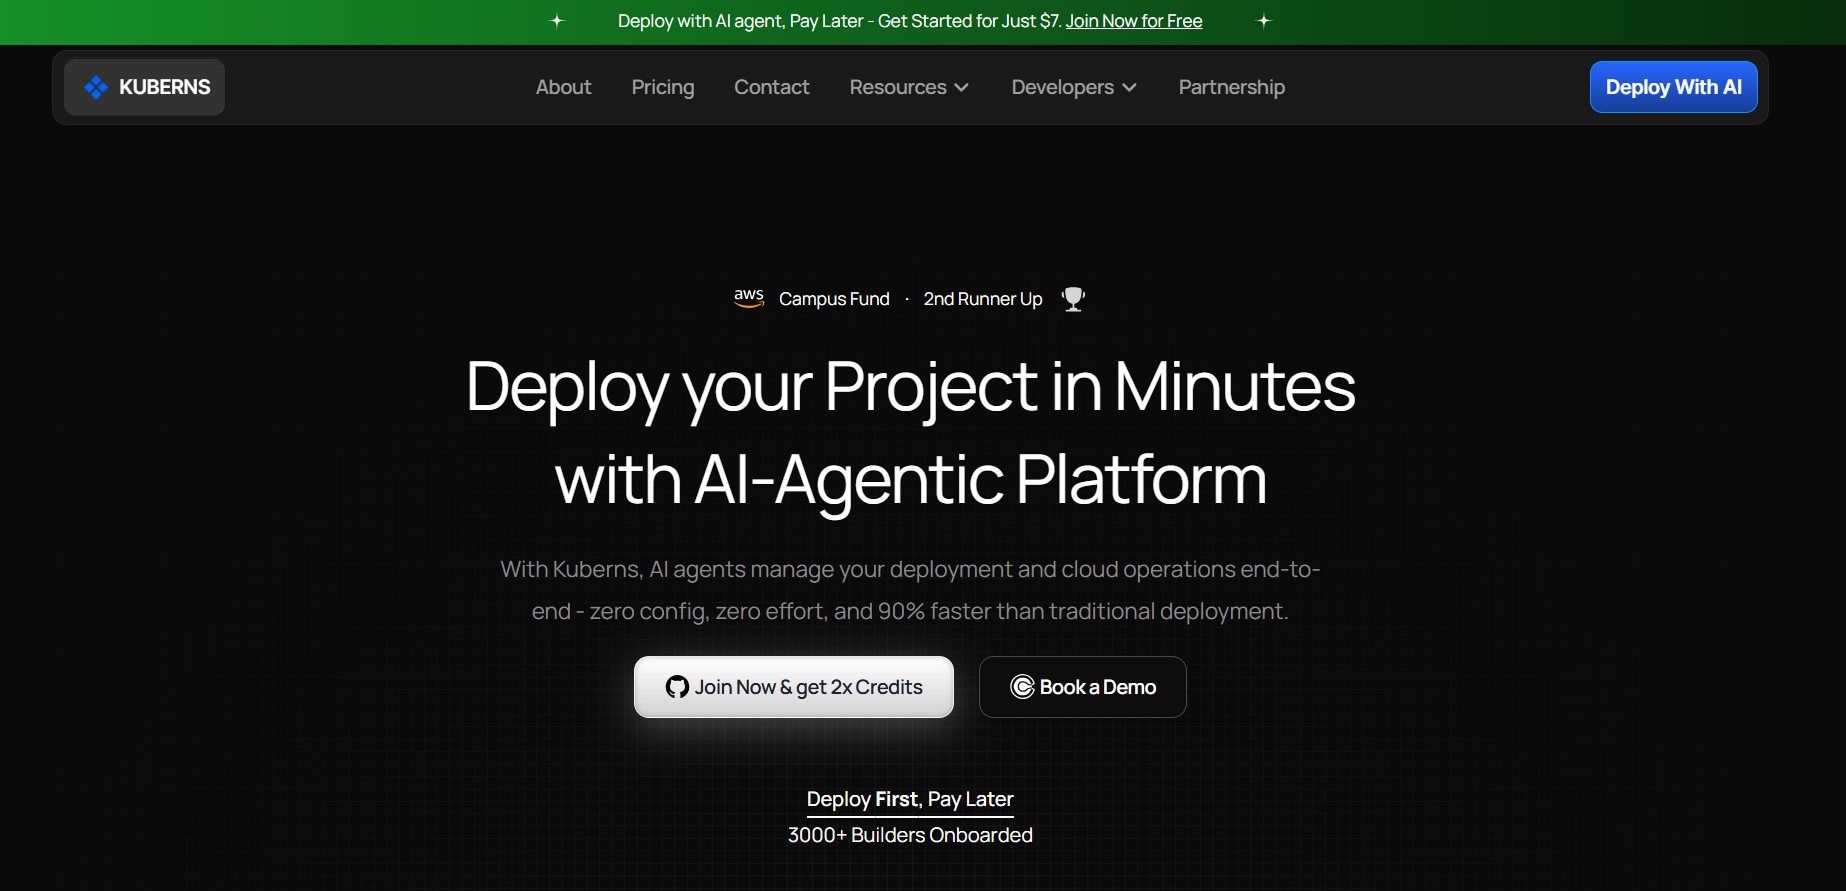
[Kuberns](https://kuberns.com) is an Agentic AI cloud platform that removes the entire manual deployment layer. No Nginx config. No Certbot. No PM2. No server to patch. You connect your GitHub repo and Kuberns takes it from there.
**Deploy in 3 steps:**
1. Connect your GitHub repo to Kuberns
2. Set your environment variables in the dashboard
3. Click Deploy and get a live HTTPS URL in under 5 minutes
Kuberns auto-detects your stack, installs dependencies, configures a reverse proxy, provisions SSL, and sets up CI/CD on every push to your branch. Everything you spent 45 minutes configuring manually on a Droplet is handled before your first deploy completes.
**Here is what Kuberns handles that DigitalOcean leaves to you:**
- **Agentic AI deployment** reads your repo, detects your stack, and configures everything without a single config file
- **Reverse proxy built in**, no Nginx server blocks, no `nginx -t`, no silent config failures
- **Automatic SSL provisioning and renewal**, no Certbot, no 90-day expiry surprises
- **Built-in process management**, no PM2, no `pm2 startup`, no app going down after a reboot
- **One-click autoscaling** based on real traffic, no Droplet resize, no reboot, no manual threshold tuning
- **Unified dashboard** for deployments, logs, environment variables, domains, and scaling, all in one place
- **CI/CD on every git push**, no GitHub Actions workflow to write or maintain
- **Zero OS maintenance**, no Ubuntu patches, no disk space monitoring, no CVEs to chase
[Start deploying with Agentic AI on Kuberns](https://dashboard.kuberns.com/)
 ## Nginx on DigitalOcean vs Kuberns
| | Nginx on DigitalOcean | Kuberns |
|---|---|---|
| Setup time | 30 to 60 minutes | Under 5 minutes |
| Reverse proxy | Manual Nginx config | Built in |
| SSL setup | Manual Certbot install | Automatic |
| Certificate renewal | Certbot timer (can fail silently) | Managed by platform |
| Process management | PM2 required | Built in |
| CI/CD | Manual GitHub Actions | Built in on every push |
| OS maintenance | Your responsibility | Fully managed |
| Scaling | Manual Droplet resize + reboot | Auto, based on traffic |
| Cost | Droplet + your time | Up to 40% less than direct AWS |
## Conclusion
Setting up Nginx on DigitalOcean is straightforward if you know Linux. The install is clean, the UFW setup is well-documented, and the Certbot integration works when everything is configured correctly. The problem is everything that comes after: the config that breaks silently, the certificates that expire without warning, the PM2 setup that gets forgotten until a reboot kills the app.
For developers who want to understand infrastructure at this level, the manual path has real value. For teams who want to ship features without managing a server stack, the time cost does not make sense anymore.
Kuberns gives you everything a Droplet plus Nginx plus PM2 provides, without any of the manual configuration. Your app goes from GitHub to a live HTTPS URL in under 5 minutes, with autoscaling, CI/CD, and zero server maintenance included.
[Deploy your app with one-click Agentic AI on Kuberns](https://dashboard.kuberns.com/)
## Nginx on DigitalOcean vs Kuberns
| | Nginx on DigitalOcean | Kuberns |
|---|---|---|
| Setup time | 30 to 60 minutes | Under 5 minutes |
| Reverse proxy | Manual Nginx config | Built in |
| SSL setup | Manual Certbot install | Automatic |
| Certificate renewal | Certbot timer (can fail silently) | Managed by platform |
| Process management | PM2 required | Built in |
| CI/CD | Manual GitHub Actions | Built in on every push |
| OS maintenance | Your responsibility | Fully managed |
| Scaling | Manual Droplet resize + reboot | Auto, based on traffic |
| Cost | Droplet + your time | Up to 40% less than direct AWS |
## Conclusion
Setting up Nginx on DigitalOcean is straightforward if you know Linux. The install is clean, the UFW setup is well-documented, and the Certbot integration works when everything is configured correctly. The problem is everything that comes after: the config that breaks silently, the certificates that expire without warning, the PM2 setup that gets forgotten until a reboot kills the app.
For developers who want to understand infrastructure at this level, the manual path has real value. For teams who want to ship features without managing a server stack, the time cost does not make sense anymore.
Kuberns gives you everything a Droplet plus Nginx plus PM2 provides, without any of the manual configuration. Your app goes from GitHub to a live HTTPS URL in under 5 minutes, with autoscaling, CI/CD, and zero server maintenance included.
[Deploy your app with one-click Agentic AI on Kuberns](https://dashboard.kuberns.com/)
 ## Frequently Asked Questions
### How do I install Nginx on a DigitalOcean Droplet?
SSH into your Droplet, run `sudo apt update` and `sudo apt install nginx`, then allow traffic with `sudo ufw allow 'Nginx Full'`. Nginx starts automatically after installation. Verify it is running with `systemctl status nginx` and confirm it is responding with `curl -I http://localhost`.
### How do I use Nginx as a reverse proxy on DigitalOcean?
Create a server block in `/etc/nginx/sites-available/` that uses `proxy_pass` to forward requests to your application port, for example `proxy_pass http://localhost:3000`. Enable the config with a symlink to `sites-enabled`, test with `nginx -t`, then reload Nginx with `systemctl reload nginx`.
### How do I set up SSL with Nginx on DigitalOcean?
Install Certbot with `sudo apt install certbot python3-certbot-nginx`, then run `sudo certbot --nginx -d yourdomain.com`. Certbot updates your Nginx config automatically and sets up a systemd timer for certificate auto-renewal every 90 days.
### What is the difference between Nginx HTTP and Nginx Full in UFW?
Nginx HTTP opens only port 80 for unencrypted traffic. Nginx Full opens both port 80 and port 443, covering both HTTP and HTTPS. Use Nginx Full after SSL is configured so both traffic types pass through the firewall.
### How do I configure server blocks in Nginx on DigitalOcean?
Create a config file in `/etc/nginx/sites-available/yourdomain` with your `server_name` and routing settings. Symlink it to `/etc/nginx/sites-enabled/`, test with `nginx -t`, then reload Nginx. Each domain or app gets its own server block file for clean separation.
### Why is my Nginx showing a 502 or 504 error on DigitalOcean?
A 502 Bad Gateway means Nginx cannot reach your upstream app, usually because the process has crashed or is not running. A 504 Gateway Timeout means the app is running but responding too slowly. Check your PM2 process list and confirm the port in `proxy_pass` matches the port your app actually listens on.
### Do I need PM2 if I am using Nginx on DigitalOcean?
Yes, for Node.js apps. Nginx handles traffic routing but does not manage your app process. Without PM2, your app stops when you close the SSH session or when the server reboots. PM2 keeps it running as a background service and restarts it automatically. For a fully managed alternative that removes PM2 entirely, [Kuberns](https://kuberns.com) handles process management at the platform level.
### How do I renew SSL certificates on DigitalOcean with Nginx?
Certbot sets up automatic renewal via a systemd timer when you install it. Test renewal with `sudo certbot renew --dry-run`. If it fails, check that port 80 is open in UFW and your Nginx config syntax is valid with `nginx -t`.
### Is there a faster alternative to setting up Nginx on DigitalOcean?
Yes. [Kuberns](https://kuberns.com) is an Agentic AI deployment platform that handles reverse proxy, SSL, process management, and CI/CD automatically. You connect your GitHub repo, set environment variables, and click Deploy. No Nginx config to write, no Certbot to run, no server to maintain.
### How do I test my Nginx config before restarting?
Run `sudo nginx -t` in your terminal. Nginx checks all config files for syntax errors and reports them before you restart. Always run this command after editing any config file. A bad config on restart can take your site offline until the error is fixed.
---
- [More Deployment Guides articles](https://kuberns.com/blogs/category/deployment-guides/1/)
- [All articles](https://kuberns.com/blogs/)
## Frequently Asked Questions
### How do I install Nginx on a DigitalOcean Droplet?
SSH into your Droplet, run `sudo apt update` and `sudo apt install nginx`, then allow traffic with `sudo ufw allow 'Nginx Full'`. Nginx starts automatically after installation. Verify it is running with `systemctl status nginx` and confirm it is responding with `curl -I http://localhost`.
### How do I use Nginx as a reverse proxy on DigitalOcean?
Create a server block in `/etc/nginx/sites-available/` that uses `proxy_pass` to forward requests to your application port, for example `proxy_pass http://localhost:3000`. Enable the config with a symlink to `sites-enabled`, test with `nginx -t`, then reload Nginx with `systemctl reload nginx`.
### How do I set up SSL with Nginx on DigitalOcean?
Install Certbot with `sudo apt install certbot python3-certbot-nginx`, then run `sudo certbot --nginx -d yourdomain.com`. Certbot updates your Nginx config automatically and sets up a systemd timer for certificate auto-renewal every 90 days.
### What is the difference between Nginx HTTP and Nginx Full in UFW?
Nginx HTTP opens only port 80 for unencrypted traffic. Nginx Full opens both port 80 and port 443, covering both HTTP and HTTPS. Use Nginx Full after SSL is configured so both traffic types pass through the firewall.
### How do I configure server blocks in Nginx on DigitalOcean?
Create a config file in `/etc/nginx/sites-available/yourdomain` with your `server_name` and routing settings. Symlink it to `/etc/nginx/sites-enabled/`, test with `nginx -t`, then reload Nginx. Each domain or app gets its own server block file for clean separation.
### Why is my Nginx showing a 502 or 504 error on DigitalOcean?
A 502 Bad Gateway means Nginx cannot reach your upstream app, usually because the process has crashed or is not running. A 504 Gateway Timeout means the app is running but responding too slowly. Check your PM2 process list and confirm the port in `proxy_pass` matches the port your app actually listens on.
### Do I need PM2 if I am using Nginx on DigitalOcean?
Yes, for Node.js apps. Nginx handles traffic routing but does not manage your app process. Without PM2, your app stops when you close the SSH session or when the server reboots. PM2 keeps it running as a background service and restarts it automatically. For a fully managed alternative that removes PM2 entirely, [Kuberns](https://kuberns.com) handles process management at the platform level.
### How do I renew SSL certificates on DigitalOcean with Nginx?
Certbot sets up automatic renewal via a systemd timer when you install it. Test renewal with `sudo certbot renew --dry-run`. If it fails, check that port 80 is open in UFW and your Nginx config syntax is valid with `nginx -t`.
### Is there a faster alternative to setting up Nginx on DigitalOcean?
Yes. [Kuberns](https://kuberns.com) is an Agentic AI deployment platform that handles reverse proxy, SSL, process management, and CI/CD automatically. You connect your GitHub repo, set environment variables, and click Deploy. No Nginx config to write, no Certbot to run, no server to maintain.
### How do I test my Nginx config before restarting?
Run `sudo nginx -t` in your terminal. Nginx checks all config files for syntax errors and reports them before you restart. Always run this command after editing any config file. A bad config on restart can take your site offline until the error is fixed.
---
- [More Deployment Guides articles](https://kuberns.com/blogs/category/deployment-guides/1/)
- [All articles](https://kuberns.com/blogs/)