Published
- 14 min read
Create and Deploy a Node.js App with This Simple Step by Step Guide
Node.js has become one of the most reliable ways to build APIs and backend services because it is fast, lightweight, and easy to work with. Teams across SaaS, dashboards, microservices, real-time systems, AI pipelines, and full-stack projects rely on it every day. The challenge is that most tutorials explain either how to build a Node.js app or how to deploy it, not both. You rarely find a single guide that covers the complete journey in a way that works for developers in 2025.
This guide fills that gap. It takes you from a blank folder to a production-ready deployment, using simple steps that avoid unnecessary technical complexity. The goal is to help you understand the process clearly, even if you are new to backend development.
It also includes a smooth and practical deployment path on Kuberns, an AI-powered deployment platform that handles everything for you, including builds, routing, SSL, logs, scaling, and monitoring. If you want to understand how the platform works under the hood and why developers prefer it, read the full breakdown in What Is Kuberns, The Simplest Way to Build, Deploy, and Scale Full Stack Apps.
1. What You Need Before You Start
Before you start building your Node.js app, make sure you have a few essentials in place. You do not need anything advanced. These basics are enough to take you from development to deployment without friction.
You need:
- Node.js and npm installed from the official Node.js website
- A code editor, most developers use VS Code
- A GitHub account for storing and deploying your project
- A cloud platform where you will deploy your Node.js app
- Basic understanding of JavaScript, enough to write simple functions and routes
These simple requirements make sure your workflow stays smooth and predictable while you move through the rest of the guide.
2. Create Your Node.js Project
Every Node.js application begins with a clean project structure and a package.json file that defines your app’s metadata and dependencies. Setting this up takes only a few seconds.
Steps to get started:
- Create a new folder with the name of your project
- Open the folder in your terminal so you can run commands inside it
- Run the command, npm init -y, to generate the project configuration
- This creates a package.json file with default settings that Node.js uses for installs and scripts
At this point, you have a clean, empty project that is ready for adding your application code and setting up the server.
3. Install Express and Set Up the Server File
Most Node.js applications use Express, a lightweight and flexible framework that makes it easy to create API routes and handle requests. Installing it and setting up a basic server takes only a minute.
Steps to set up your server:
- Install Express by running npm install express
- Create a new file named index.js, which becomes your main server file
- Add a simple server setup using Express, such as creating a route that returns a response
- Make sure your server listens on process.env.PORT or a fallback port like 3000
With this setup, you now have a working backend server that can accept requests and return responses. This forms the foundation for the rest of your application.
4. Test the App Locally
Before you think about deployment, it is important to confirm that your Node.js server runs correctly on your machine. Local testing helps you catch errors early and ensures your setup is solid.
To test your app:
- Start the server by running node index.js
- Open your browser and visit
- You should see a simple message such as, Node.js app is running
- If you see this response, it means your Express server is working correctly
This quick test confirms that your project structure, server file, and configuration are all set up properly before moving forward.
5. Add Scripts and Prepare for Deployment
Before deploying your Node.js app, you need a proper start script so cloud platforms know how to run your server. Without it, most deployments will fail or restart repeatedly.
Steps to prepare your project:
- Open your package.json file
- Add a start script such as “start”: “node index.js”
- This tells any platform exactly how to launch your app
- If you want auto-reload during development, you can install nodemon and create a “dev” script, but this is optional
Adding these scripts ensures your application is deployment-ready and can run smoothly on production platforms without extra configuration.
6. Add Environment Variables
Most real-world Node.js applications rely on environment variables for things like database URLs, API keys, authentication secrets, and external service credentials. These values should never be hard-coded inside your project.
Key points to follow:
- Store sensitive values as environment variables instead of writing them directly in your code
- Access them in Node.js using process.env.VARIABLE_NAME
- Common examples include DB connection strings, JWT secrets, API tokens, and Redis URLs
- Every modern cloud platform, including Kuberns, provides a secure place to add these variables during deployment
Setting up your environment variables correctly ensures your app is secure, easy to configure across environments, and ready for production usage.
7. Push Your Project to GitHub
Most modern deployment platforms rely on Git-based workflows. This means your Node.js project should be stored in a GitHub repository so the platform can pull your code, build it, and deploy it automatically.
Steps to push your project:
- Initialise Git inside your folder using git init
- Add all project files with git add.
- Save your changes using git commit -m “first commit”
- Create a new GitHub repository and copy the repo URL
- Connect the repo to your local project using git remote add origin <repo-url>
- Push the code to the main branch using git push -u origin main
Once your project is on GitHub, it becomes ready for deployment, version-controlled, and easy to update through continuous deployment flows.
8. Deploy Your Node.js App Using Kuberns
Once your code is on GitHub, you can deploy it to the cloud. The simplest and fastest way is using Kuberns, an AI powered deployment platform that detects your Node.js project automatically, builds it, and makes it live in a single click. You do not need Dockerfiles, servers, or complex pipelines.
If you want a step by step guide, you can follow the official tutorial here: Deploy Node.js App on Kuberns.
Steps to deploy on Kuberns:
- Create a new project inside your Kuberns dashboard
- Connect your GitHub repository so Kuberns can access your Node.js code
- Add your environment variables, such as database URLs or API keys
- Click Deploy with ease to begin the automated build and deployment
- Kuberns takes care of SSL, routing, logging, scaling, monitoring, and health checks without any manual setup
With this process, your Node.js application goes from local development to a fully managed production environment in minutes, without traditional DevOps overhead.
9. Deploying Node.js on Other Cloud Platforms
Node.js can run almost anywhere, but every cloud platform handles builds, scaling, networking, and runtime environments differently. These differences affect developer experience, cost, performance, and long term maintainability. Understanding how each platform works helps you choose the right place to deploy your app.
For a deeper breakdown of one of the most common options, you can read Deploy Node.js on Netlify and Why Kuberns Is a Smarter Choice.
Below is a clearer overview of how popular platforms compare.
Render
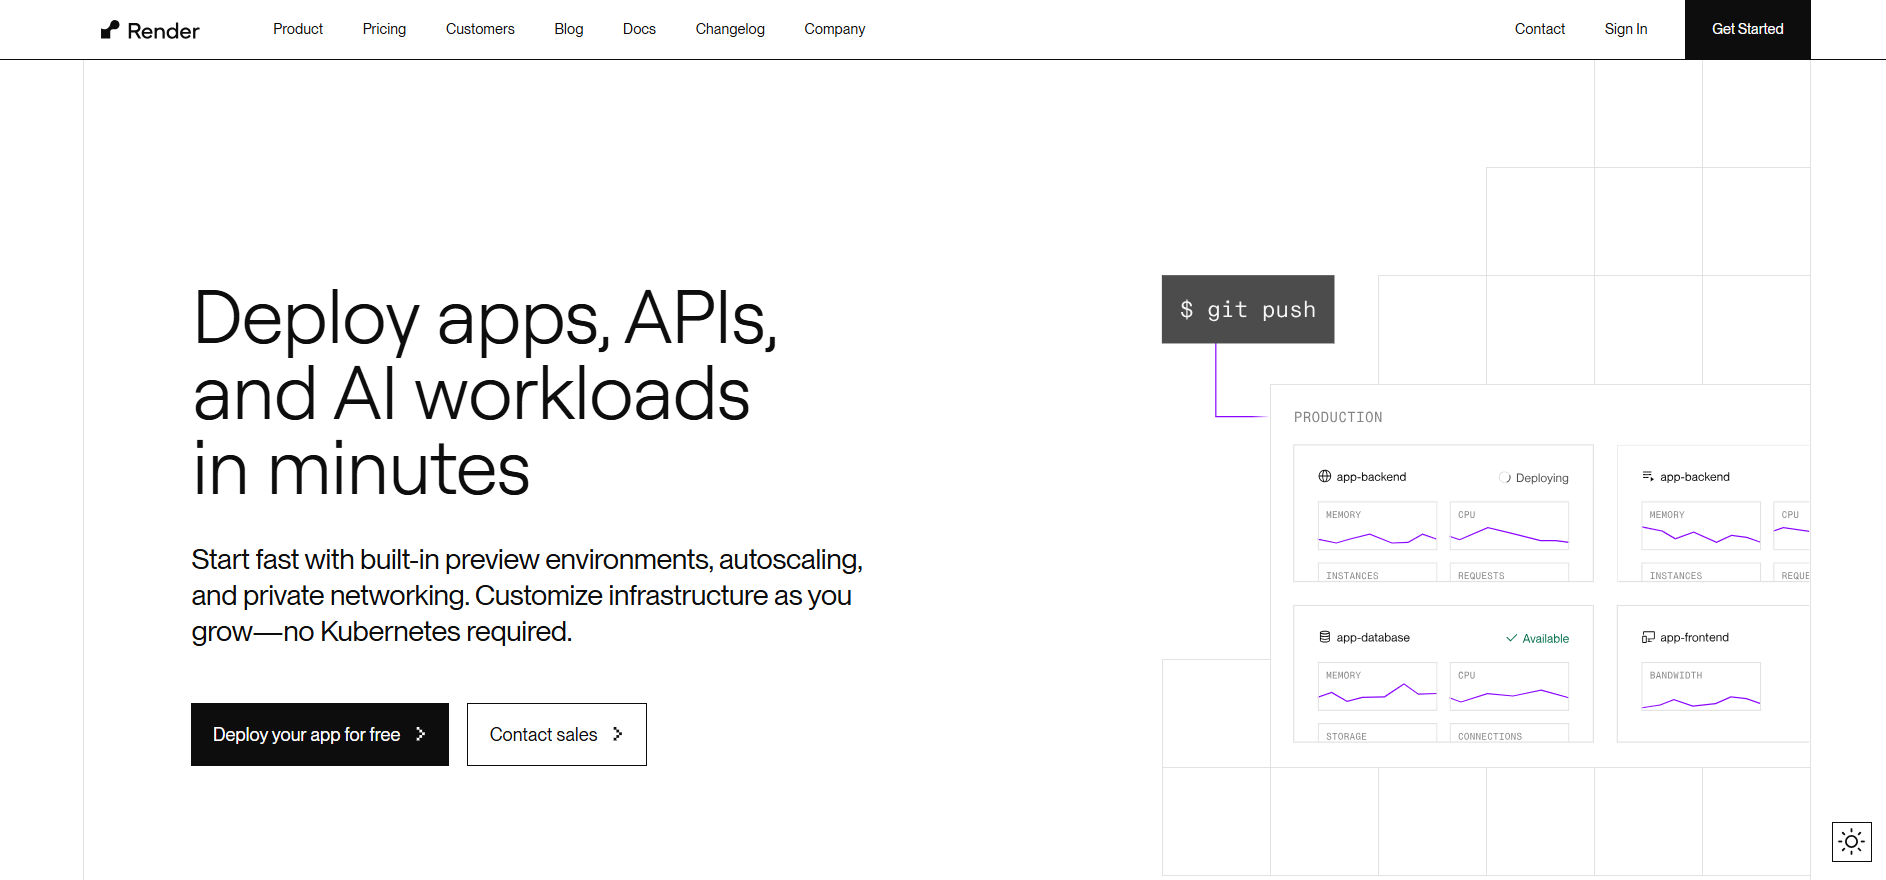 Render is known for its simple setup and Git based deployments. It is friendly for beginners but has noticeable limitations.
Pros:
- Easy to connect GitHub repos
- Basic autoscaling included
- Good documentation
Cons:
- Slow build times, especially during peak hours
- Performance drops for long running backend APIs
- Not ideal for production workloads with high throughput
Render is suitable for hobby apps but becomes limiting for teams that need reliable performance.
Railway
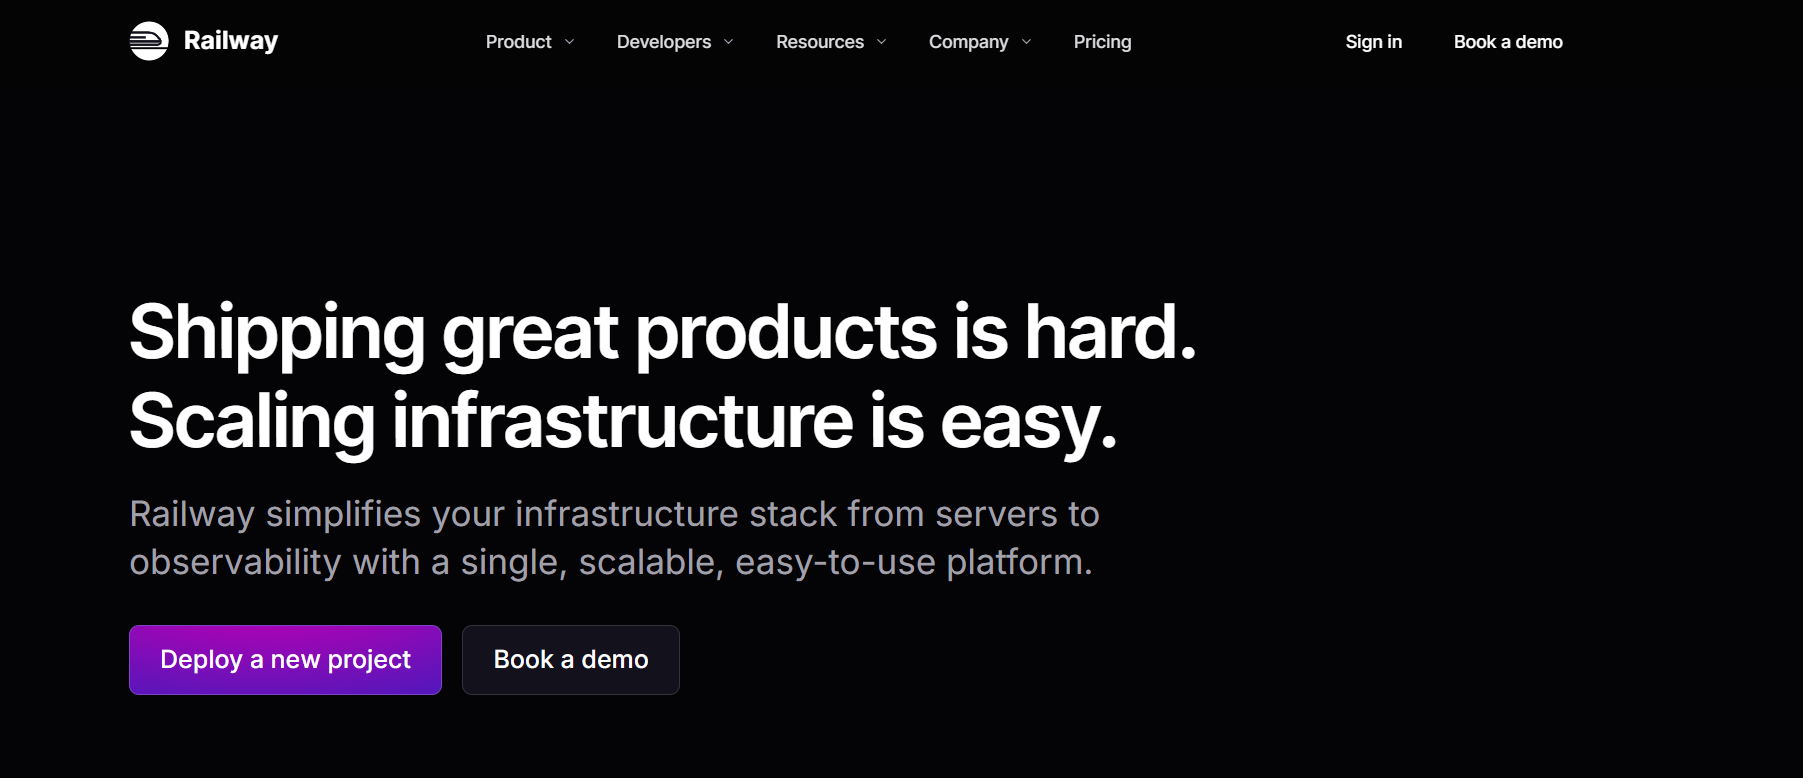 Railway provides a clean and modern developer experience but is better suited for smaller use cases.
Pros:
- Smooth UI and fast project creation
- Quick deployments
- Reasonable for small APIs
Cons:
- Pricing increases rapidly as your usage grows
- Resource limits restrict large applications
- Vendor lock in for databases and services
Railway works best for prototypes or short lived projects.
DigitalOcean App Platform
DigitalOcean’s App Platform gives a middle ground between simplicity and control.
Pros:
- Good scaling and load balancing
- Clear pricing
- Better performance than most hobby platforms
Cons:
- Often requires a Dockerfile or custom build steps
- More manual configuration for networking
- Requires monitoring and maintenance compared to plug and play platforms
DigitalOcean is reliable but demands more DevOps knowledge.
AWS EC2
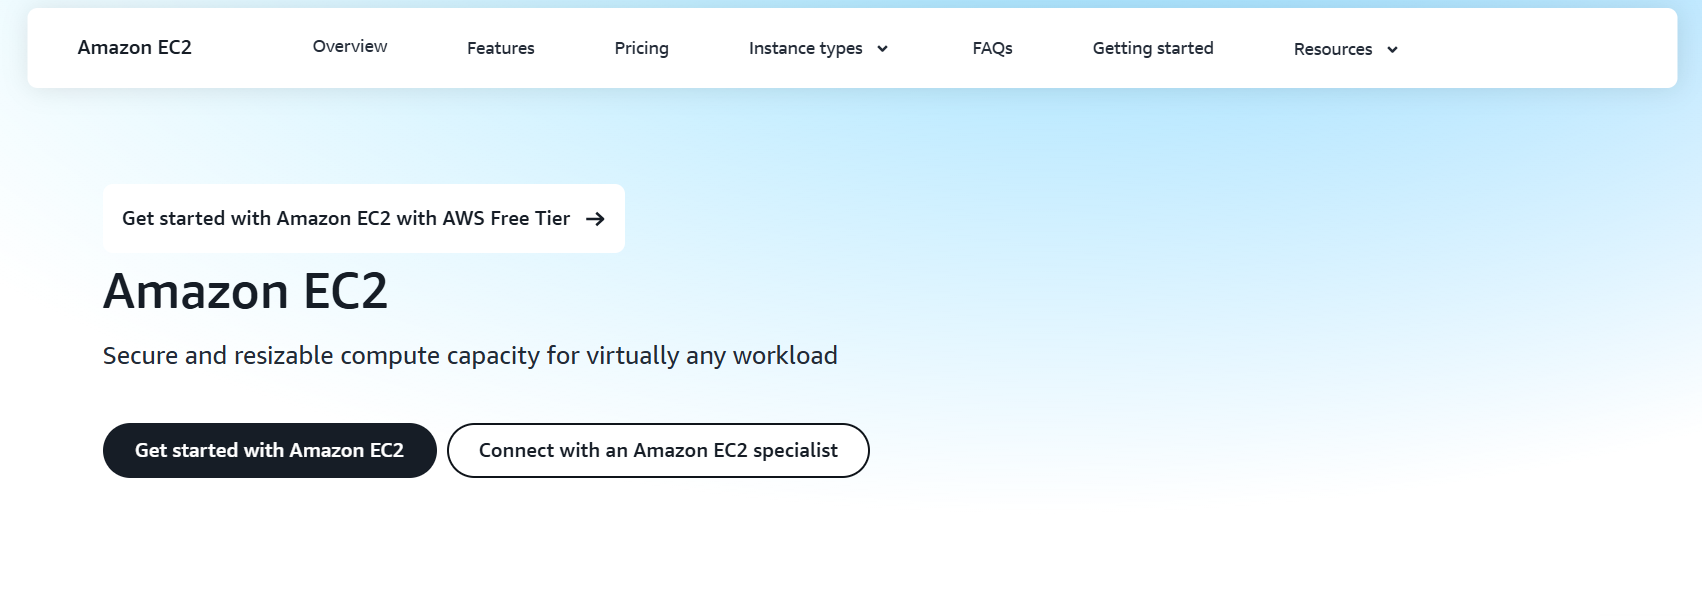 Amazon EC2 gives you complete control over servers, but the trade off is complexity.
Pros:
- Full flexibility and customization
- Highly reliable infrastructure
- Can handle large scale production traffic
Cons:
- Complex for beginners, requires server management
- Needs load balancers, IAM roles, VPC configuration, and scaling rules
- Deployment automation must be built manually
EC2 is powerful, but it is not designed for fast or effortless deployments.
Vercel
 Vercel is best known for frontend hosting but also supports backend functions through serverless.
Pros:
- Great for frameworks like Next.js and React
- CDN and caching built in
- Fast builds for frontend assets
Cons:
- Not ideal for long running Node.js APIs
- Serverless cold starts affect performance
- Timeout limits restrict heavy backend workloads
Vercel is excellent for frontend projects but not the first choice for backend APIs or full stack apps.
10. Add a Database to Your Node.js App
Databases are a core part of most Node.js applications because they store user accounts, product data, sessions, logs, and other essential information. Node.js supports multiple types of databases, and choosing the right one helps your application scale smoothly.
Popular Database Options
MongoDB Atlas A flexible NoSQL database that works well for APIs, real time apps, and fast iteration cycles. It stores data in JSON like documents, which makes it easy to evolve your schema.
PostgreSQL A powerful SQL database used for SaaS platforms, dashboards, authentication systems, and finance related features. It offers strong consistency and advanced relational modeling.
MySQL A widely used SQL database that is reliable for structured data and transactional workloads. Good choice for traditional backend applications.
Redis An in memory data store used for caching, session handling, background job queues, and speeding up API responses. Often paired with MongoDB or PostgreSQL.
How to Connect Your Database
Connecting a database to Node.js follows a simple and secure pattern.
- Store your database URL inside an environment variable, not in your code
- Access it using process.env.DB_URL
- Use official drivers or ORMs like Mongoose, Prisma, or Sequelize
- Ensure your production database supports SSL
- Test the connection locally before deployment
This setup keeps your credentials safe and makes switching between environments effortless.
Database Connectivity on Kuberns
Kuberns simplifies database connections by providing features that reduce the usual deployment headaches.
- Stable outbound networking ensures your app reaches external databases without breaking
- A secure environment variable section keeps your DB URLs safe
- Built in SSL handling helps avoid certificate errors
- Clear logs help debug connection issues quickly
This allows your Node.js app to connect smoothly to MongoDB Atlas, PostgreSQL, MySQL, Redis, or any managed database service without extra DevOps effort.
11. Production Checklist Before Deploying
Before taking your Node.js application live, it is important to verify a few key items. These checks help prevent crashes, configuration errors, and downtime once your app is deployed to the cloud. A clean production checklist ensures your application behaves consistently across environments.
1. Correct PORT Variable
Your app must listen on the process.env.PORT value provided by the platform. Hardcoding the port often causes deployment failures.
2. Correct Environment Variables
Verify that all required variables, such as DB URLs, JWT secrets, and API keys, are set correctly. Missing values are one of the most common causes of application crashes.
3. CORS Configuration
If your frontend and backend are hosted separately, enable CORS to allow cross origin requests. This prevents browser errors and blocked API calls.
4. Logging
Use clear and meaningful logs so you can track issues after deployment. Good logging helps you debug server errors, slow responses, and integration failures.
5. Scaling Settings
If your platform supports it, enable autoscaling or configure the necessary resource limits. This helps your app handle increased traffic smoothly.
6. Health Check Route
Some platforms require a health check endpoint so they can confirm your app is running correctly. Add a lightweight route that returns a simple status.
7. Commit package.json and Lock Files
Always commit your package.json and package-lock.json files. Missing dependency files often lead to build errors or mismatched versions.
Following this checklist reduces most production issues and ensures your Node.js application deploys smoothly, behaves predictably, and remains stable under load.
12. Troubleshooting Common Node.js Deployment Issues
Even with a clean setup, it is common to face a few issues during deployment. Most Node.js errors follow predictable patterns, and understanding them helps you debug faster. This section highlights the issues developers face most often and how to resolve them quickly.
App Crashes After Deployment
If your app stops running immediately after deployment, the most likely causes are:
- Missing environment variables
- Using a hardcoded PORT value instead of process.env.PORT
- Failed database connection due to incorrect URLs
Check your logs to identify the exact point of failure.
Build Fails, or Dependencies Do Not Install
Deployment builds fail when:
- package.json is missing or incomplete
- package-lock.json contains outdated or conflicting dependencies
- Node.js version is incompatible
Make sure both files are committed and the node version is supported by your platform.
502 or 504 Errors (Bad Gateway / Timeout)
These errors usually mean the application:
- Failed to start
- Exited immediately after booting
- Is taking too long to respond
Look at the server logs and confirm your startup script is correct.
CORS Issues
If the browser blocks requests from your frontend, it means:
- CORS is not enabled
- Allowed origins are not configured correctly
Enable CORS and specify your frontend domain.
Problems Connecting to the Database
Frequent causes include:
- Invalid DB URL
- Incorrect credentials
- Missing SSL configuration
- Database service not whitelisted
Verify the connection string and environment variables, and test the connection locally.
Platforms like Kuberns make debugging easier because logs, build status, and runtime details are clearly visible, helping you resolve problems without digging through server configurations.
Conclusion
Creating and deploying a Node.js application does not have to feel complicated. With a clean project structure, proper environment variables, a reliable database connection, and a platform that handles the heavy lifting, you can move from idea to production faster than ever. The real challenge for most developers is not writing the backend itself, but managing servers, build pipelines, SSL, routing, logs, and scaling once the app is ready.
This is where platforms built for simplicity make a real difference. Kuberns gives you an easier way to take your Node.js app from code to cloud, without worrying about Dockerfiles, infrastructure, or DevOps overhead. You focus on writing code, and the platform takes care of deployment, logs, monitoring, and performance.
If you want your next deployment to feel smooth, predictable, and stress free, try deploying your app on Kuberns. It is the fastest path to getting your Node.js project live, with a workflow designed for developers who value speed and clarity.
Start deploying with ease today at kuberns.com.

FAQs
Q. How do I create a Node.js app from scratch?
To create a Node.js app, start by making a new folder, running npm init to generate a package.json file, and installing Express or any other framework you need. After that, create an index.js file, define your routes, and test the app locally using node index.js.
Q. What is the easiest way to deploy a Node.js application?
The easiest way is to use a platform that handles builds, routing, SSL, and scaling automatically. Deploying on Kuberns is a simple one click process because the platform detects your Node.js app, builds it, and manages the entire infrastructure for you.
Q. Do I need Docker to deploy Node.js?
No, you do not need Docker unless you are deploying on a provider that requires container images. Platforms like Kuberns auto detect Node.js apps and deploy them without Dockerfiles or container setup.
Q. Can I use MongoDB or PostgreSQL with a Node.js app?
Yes, Node.js works very well with MongoDB, PostgreSQL, MySQL, and Redis. Store your database URL as an environment variable and connect using an ORM like Mongoose, Prisma, or Sequelize depending on your database.
Q. Why does my app crash after deployment?
Most Node.js apps crash due to missing environment variables, using a hardcoded port, or a failed database connection. Check your logs to see which step failed, and make sure your app uses process.env.PORT during startup.
Q. Is Vercel good for Node.js backend APIs?
Vercel is great for frontend frameworks but not ideal for long running or heavy backend APIs. It uses serverless functions which have timeouts and cold starts, which can affect performance for backend heavy projects.
Q. Which platform is best for a production ready Node.js app?
If you prefer simplicity, fast deployments, and minimal DevOps work, Kuberns is a strong choice. It gives you one click deployments, built in SSL, routing, logs, and scaling without requiring infrastructure management.